이 기사 “Nomad Coder – TikTok 클론 코딩” 강의 중에 작성한 글입니다.
유료 강의인 만큼 정리가 필요한 부분만 발췌하여 정리합니다.
이해해 주셔서 감사합니다.
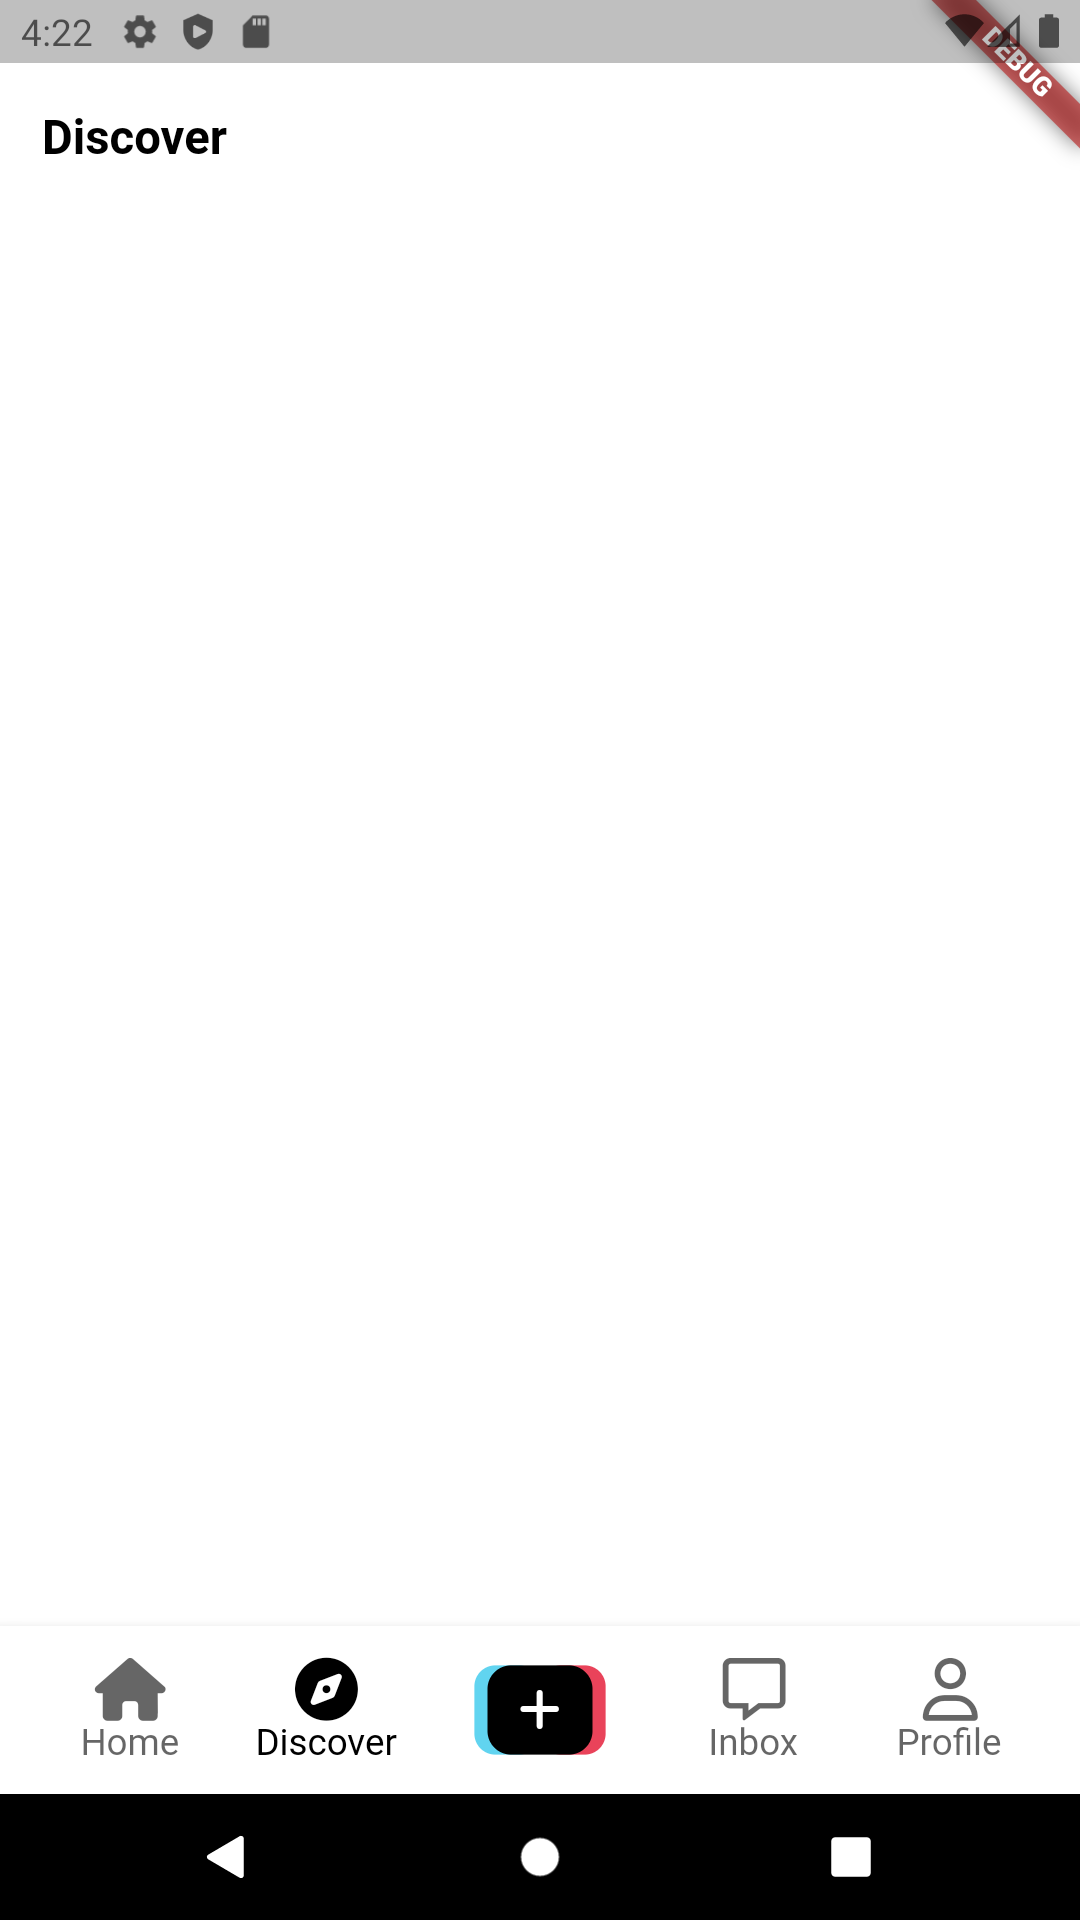
형질/discover/discover_screen.dart 파일 생성
import 'package:flutter/material.dart';

class DiscoverScreen extends StatelessWidget {
  const DiscoverScreen({super.key});

  @override
  Widget build(BuildContext context) {
    return Scaffold(
      appBar: AppBar(
        title: const Text("Discover"),
      ),
    );
  }
}
앱바 Bottom 사용 속성Bottom 이란?
PreferredSizeWidget 유형이 있습니다.
특정 크기가 되려고 시도하지만 자식의 크기를 제한하지 않는 위젯입니다.
선호: 특정 크기를 시도하지만 위젯 내의 자식 요소는 부모의 크기 제한이 적용되지 않습니다.
required Widget child,
required Size preferredSize,
다음과 같이 사용할 수 없습니다.
bottom : Container()대신 다음을 사용할 수 있습니다.
bottom: PreferredSize(
          preferredSize: Size.zero,
          child: Container(),
        ),
우리는 그렇게 할 것입니다.
bottom: const TabBar(
          tabs: (
            Tab(
              text: "Top",
            ),
            Tab(
              text: "Users",
            ),
          ),
        ),
      ),
저장 결과 다음 오류가 발생합니다.
해결하다
탭 DefaultTabController 넣어
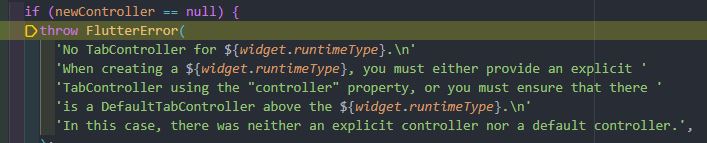
SCaffold붓다 DefaultTabController그걸로 감싸
    return DefaultTabController(
      length: 2,
      child: Scaffold(
        appBar: AppBar(
          title: const Text("Discover"),
          bottom: const TabBar(
            tabs: (
              Tab(
                text: "Top",
              ),
              Tab(
                text: "Users",
              ),
            ),
          ),
        ),
      ),
    );
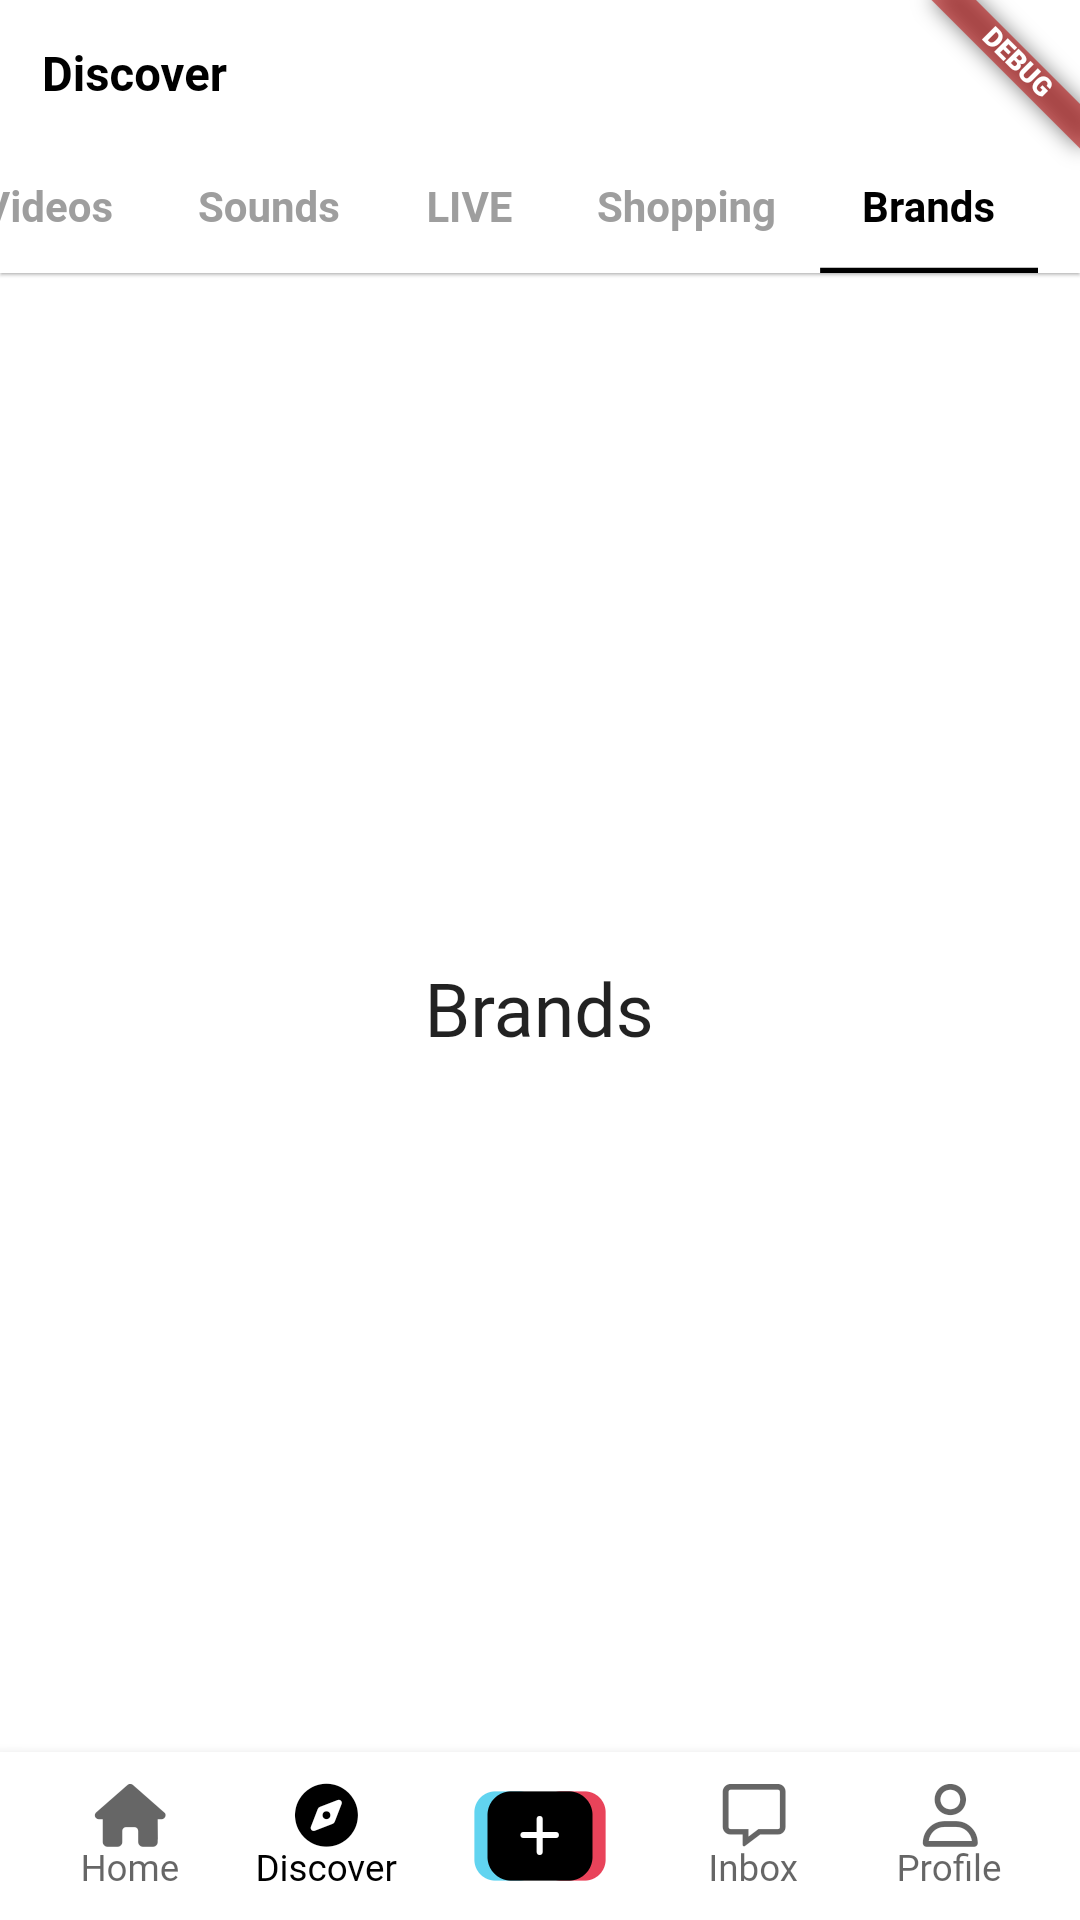
장식
- 여러 탭 요소 지정
final tabs = (
  "Top",
  "Users",
  "Videos",
  "Sounds",
  "LIVE",
  "Shopping",
  "Brands",
);


// build 메서드
length: tabs.length, // 생성

...

bottom: TabBar(
            unselectedLabelColor: Colors.grey.shade500, // 클릭 안했을 때의 글자 색상
            labelColor: Colors.black, // 선택 시 글자 색상
            indicatorColor: Colors.black, // 탭 아래의 선 색상
            labelStyle: const TextStyle(
              fontWeight: FontWeight.w600, // 텍스트 볼드체 지정
            ),
            tabs: (
              for (var tab in tabs)
                Tab(
                  text: tab,
                ),
            ),
),- 탭이 많을 때 스크롤 기능 설정
isScrollable 재산 true 정해진
isScrollable: true,
- 적용된 기본 애니메이션 지우기
bottom: TabBar(
            splashFactory: NoSplash.splashFactory, // 기본 적용된 애니메이션 효과 삭제
            padding: const EdgeInsets.symmetric(
              horizontal: Sizes.size16, // 탭 간 padding 지정
            ),
TabBarView생식
// appBar 접고 아래에 추가

body: TabBarView(
          children: (
            for (var tab in tabs)
              Center(
                child: Text(
                  tab,
                  style: const TextStyle(
                    fontSize: 28,
                  ),
                ),
              )
          ),
        ),
- 탭 아래에 선을 그립니다.
appBar: AppBar(
          elevation: 1,
          ...
        ),